
Who doesn’t love to get crafty at Christmas time? It is full of inspiration and things you can make with your little ones and these paper plate Christmas tree craft is a great example of that.
Easy to make and perfect for children of all ages they make lovely homemade gifts and cards and decorations you can put up proudly in your home throughout December.

A paper plate is such a great craft item to have stock of in your home. They can be turned into all sorts of wonderful things and this Christmas tree craft is a great one for your little ones to do.
There are not a lot of steps to follow, and with some children, you can even leave them to it. It is that simple! Crafting is such a great way to encourage children away from their screens and spend some time doing something that is enjoyable and relaxing.
It gives you time to spend with your kids or to feel confident that they are doing something they will enjoy without the overwhelm and pressure we all feel when it comes to screen time. So without further ado, this is everything you need to know to make the Paper Plate Christmas tree craft.
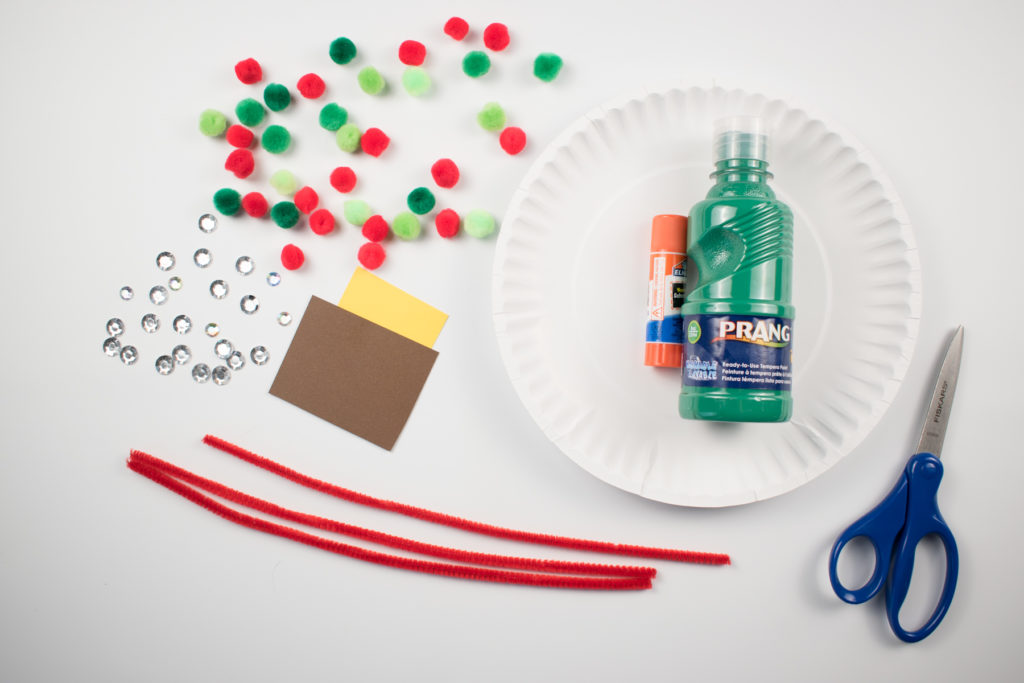
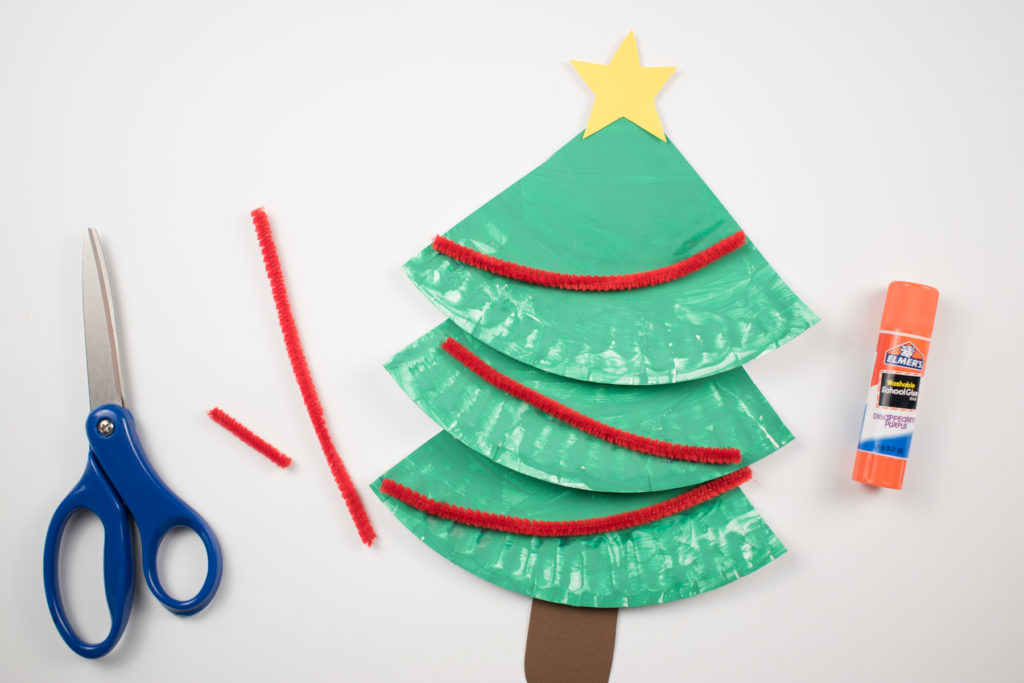
Everything needed to make a Paper Plate Christmas Tree
First of all, to make things easy, gather everything you need together and set it out on a flat work surface. A table is ideal for this.
- 23 cm Paper Plate
- Scissors
- Glue
- Construction paper or cardstock – yellow and brown
- Pipe cleaner
- Green tempera paint (or craft paint for older kids)
- Gems, pompoms, etc for decorating.
How to make A Paper Plate Christmas Tree Craft
Prep time – as long as it takes, there is no rush when it comes to crafts.
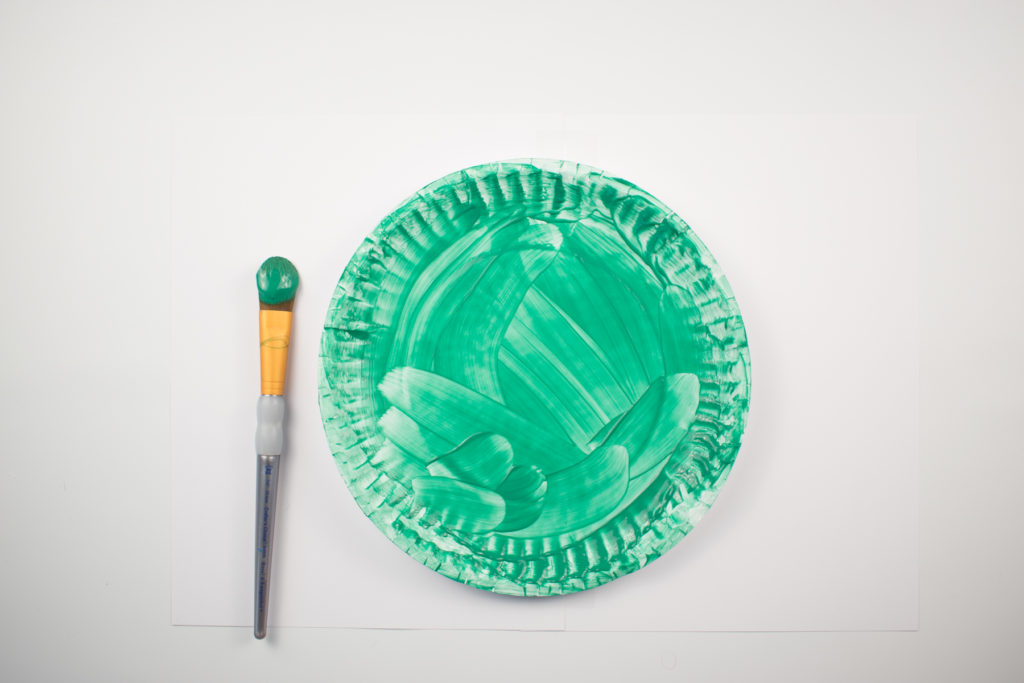
As mentioned earlier, it is a great idea to get everything you need before you begin. The first step is really simple, you need to paint the front of the plate green. Once you have finished painting it you will need to leave the paper plate to dry before moving on to the next step.
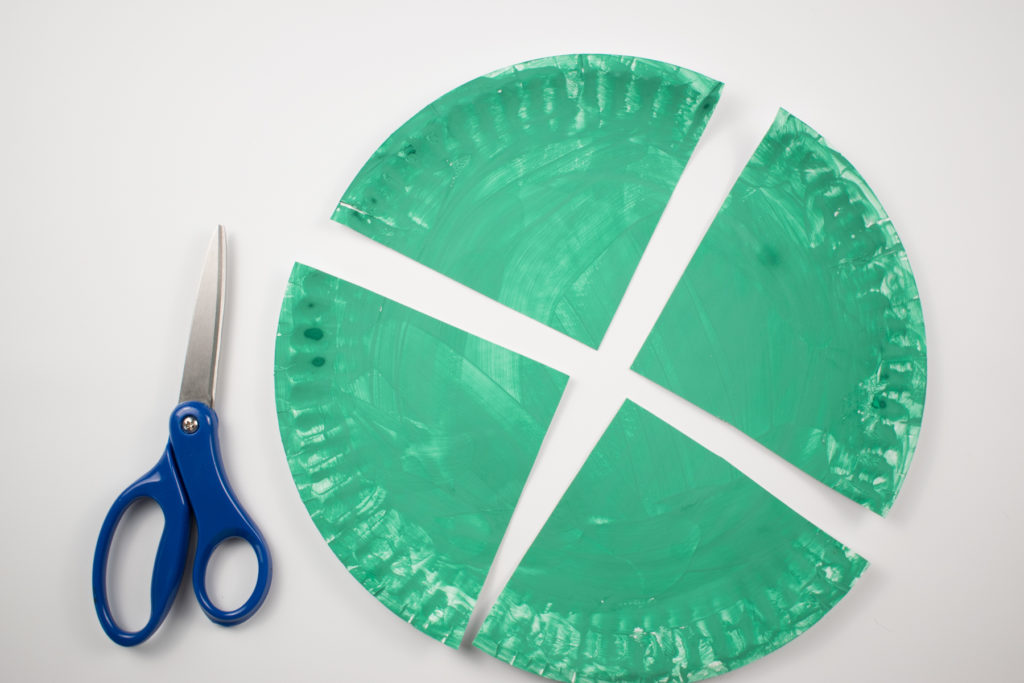
Check on your paper plate to make sure it is dry. When it is ready cut the plate into equal quarters and glue three of them together to form a tree. Check out the process pictures if you are unsure of the process.
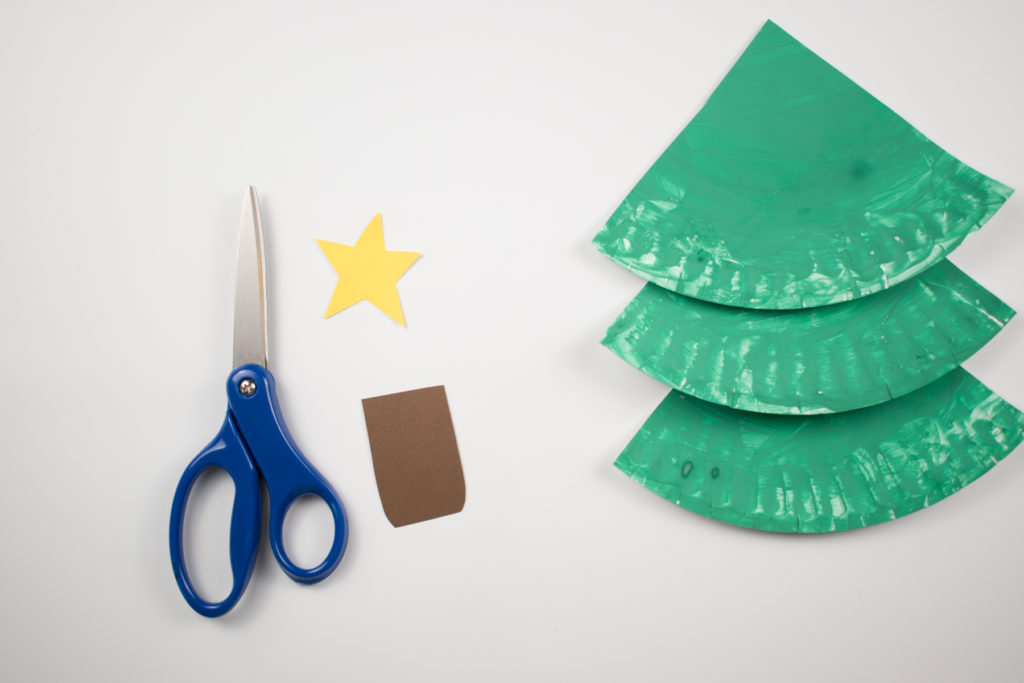
Grab your coloured paper and cut a star from the yellow paper and a tree trunk out of brown paper. Once you are happy with those then glue them in place. The star is at the top and the trunk is at the bottom of the tree.
Cut and glue pipe cleaners to the tree to make a garland or to act as tinsel.

Decorate with pompoms and gems to create your finished Christmas tree. You can then add a message on the back for friends or family or simply hang it in your home.
Craft process notes and tips
A craft is always a perfect opportunity to spend some time with your children, or even just to occupy them so that they aren’t always going to technology to feel stimulated. However, while it may be a simple craft process to follow, it is always advisable to take on some extra notes and tips to get the most out of it.
- Make sure you supervise little ones when cutting the paper plate into quarters. This can be a little tricky for smaller children.
- Don’t worry if you don’t have the exact supplies for this craft. The paper plate is the main element but you can vary the other bits like using bits of tinsel, pictures you print out, or glitter. You could even paint things on if needed.
Variations to try
Like with any craft, the beauty is how you adapt it to suit you and if you don’t have some of the things that you need suggested above, then varying it is a great way to enjoy this craft. Here are some ideas:
- Make it a family tree. Instead of using gems and pom poms print out pictures of friends and family. Let your children cut around the heads and stick them onto the Christmas tree. It will be a take on the family tree and a lovely keepsake to look back on or to gift the family.
- Add some glitter to the tree. Tinsel is a huge part of Christmas and while the pipe cleaners act as that you can also use glitter or glitter glue. It is the perfect way to add a bit of sparkle to the Paper Plate Christmas tree.
FAQs
We all have questions that we may need answering so here are a couple to help you.
What age range is this craft suitable for?
This is a lovely craft that is suitable for children of all ages. You could let older children get on with it as the steps are really easy to follow. Younger children may need help when using scissors and for some of the steps but essentially there are parts they can also do without your help. A great craft for everyone to enjoy.
I don’t have any gems or pom poms, what can I use instead?
If you don’t have any gems or pom poms don’t worry, this is still a craft your kids can enjoy making without those things. The main aspect of this craft is the paper plate, the others can be varied and you can swap things out for what you have in your cupboards.
The gems and the pom poms are for the tree decorations, so instead of this you could use glitter glue or cut up little pieces of coloured paper. If you have a stack of magazines lying around that show Christmas trees or decorations then you could cut pictures up and add them to the tree. You could also paint the decorations if you wanted. This is where you can get really creative.
Hopefully, this will have encouraged you to give the Paper Plate Christmas Tree Craft a try.
Looking for more Paper Plate Crafts, check out Paper Plate Angels and Paper Plate Reindeers