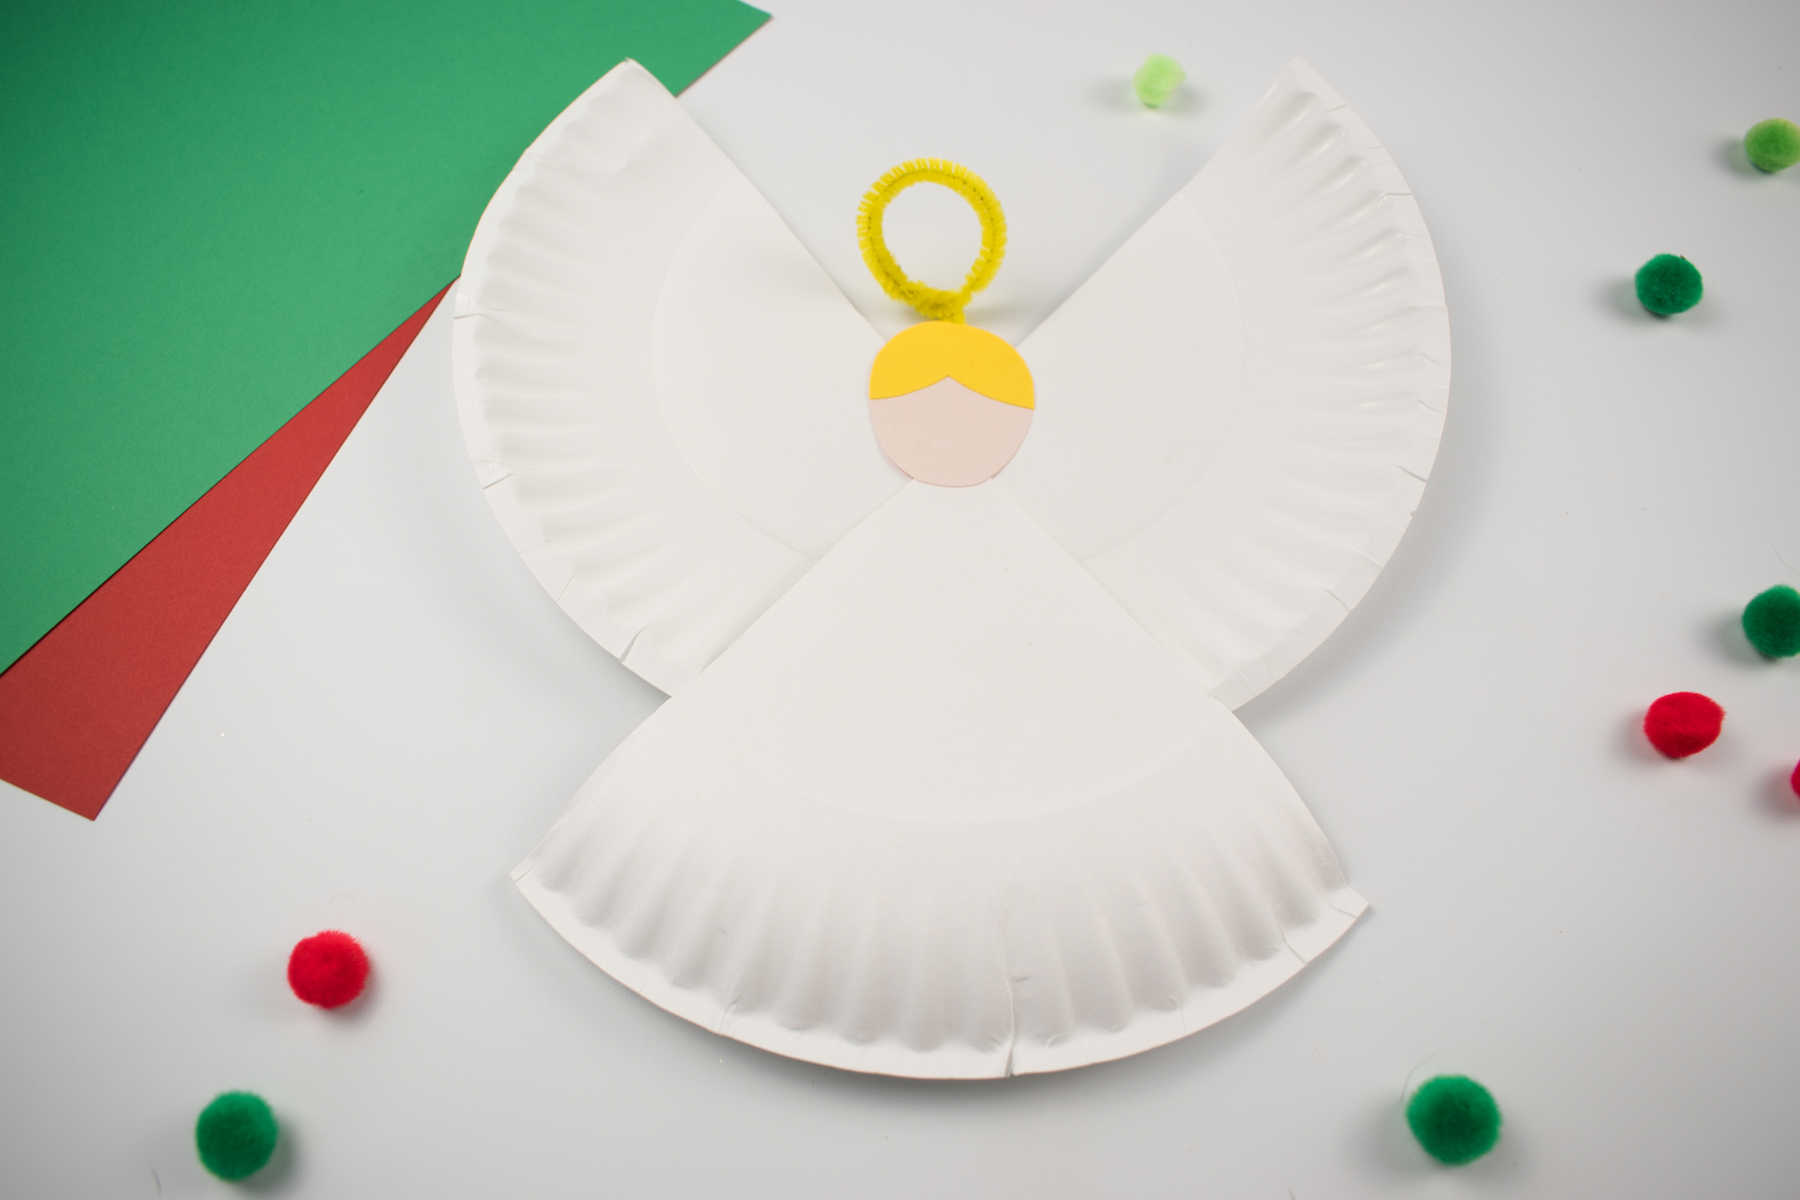
Check out these simple Paper Plate Angel Crafts to make this festive season.
When it comes to Christmas time and little ones there is one thing that can put a smile on everyone’s faces, especially the children, and that is some time to embrace crafts. School tends to finish a few days before the festivities start, but even the weekends can feel like the excitement is building.
To avoid overwhelm and to keep the magic alive, crafts are a great way to occupy children. And you get some great decorations for your home or DIY gifts you can give to your family.
An angel is often a symbol of Christmas. Many have angels at the top of their trees but when you consider the Christmas story, the Angel Gabrielle plays an integral role.
I have come up with one of the best crafts for little ones. They can create their very own angel. You can follow the guidance set below or you can let their imaginations run wild with colouring and features.
So if you and your little ones want to give this Christmas Angel craft a go then here is everything you need to know.

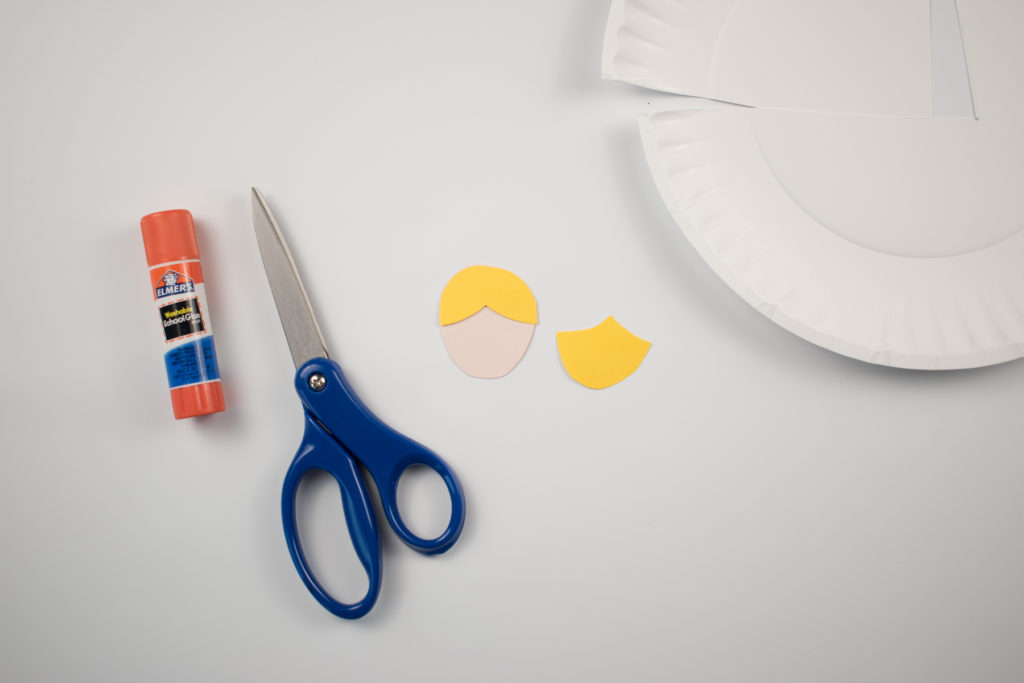
Everything needed to make a Paper Plate Angel Craft
First of all, to make things easy, gather everything you need together and set it out on a flat work surface. A table is ideal for this.
- 23cm Paper Plate
- Scissors
- Glue
- Tape
- Construction paper or cardstock for skin and hair
- Yellow Pipecleaner
How to make Paper Plate Angel Crafts
Prep time – as long as it takes, there is no rush when it comes to crafts.
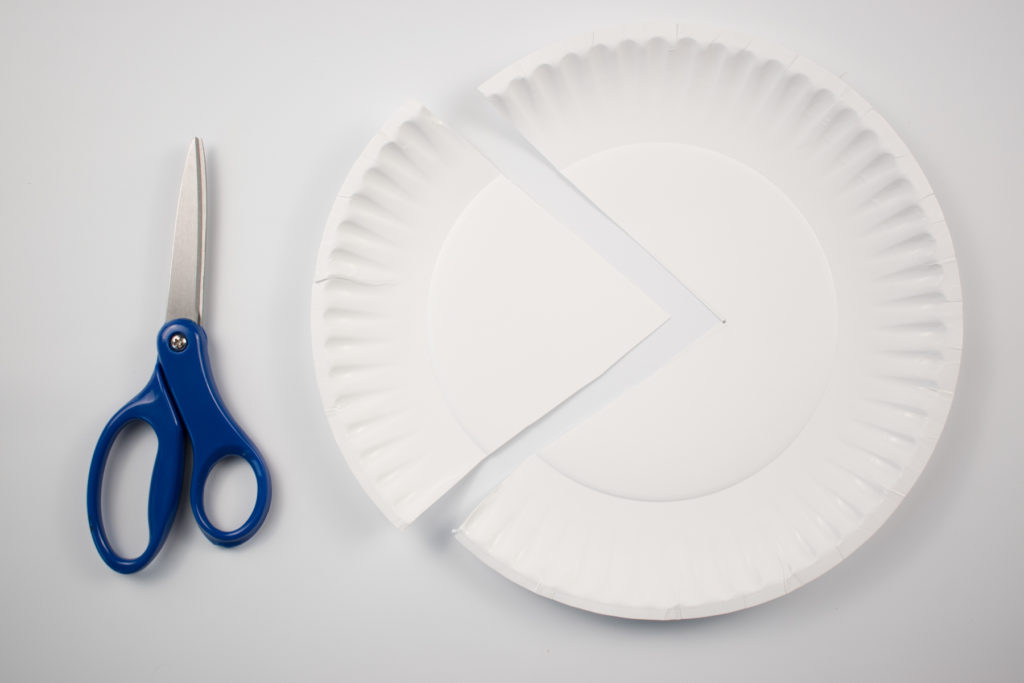
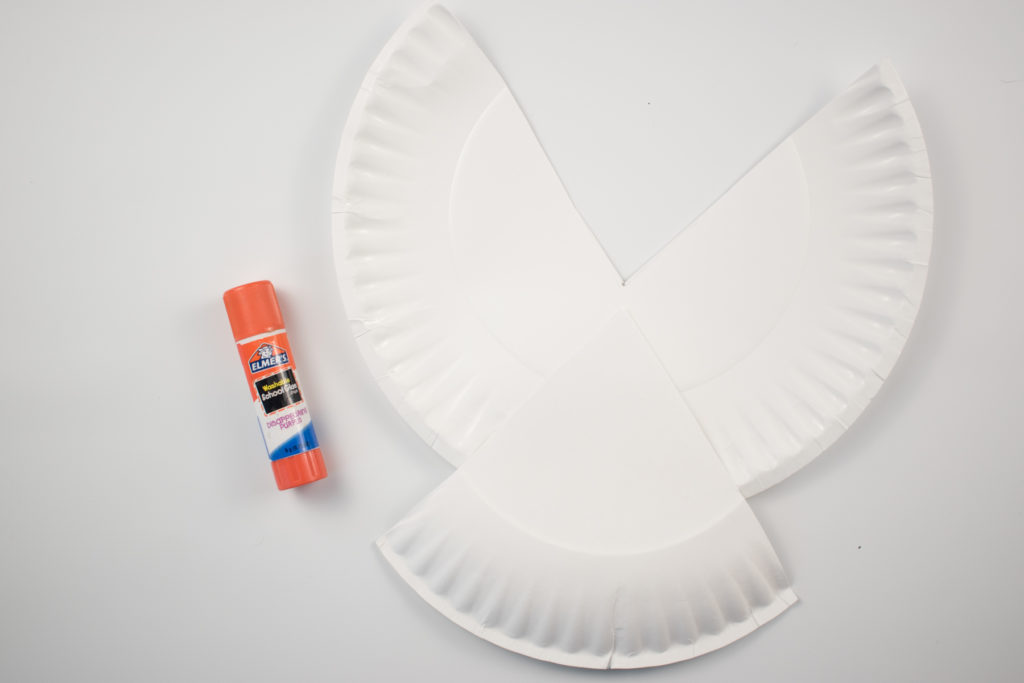
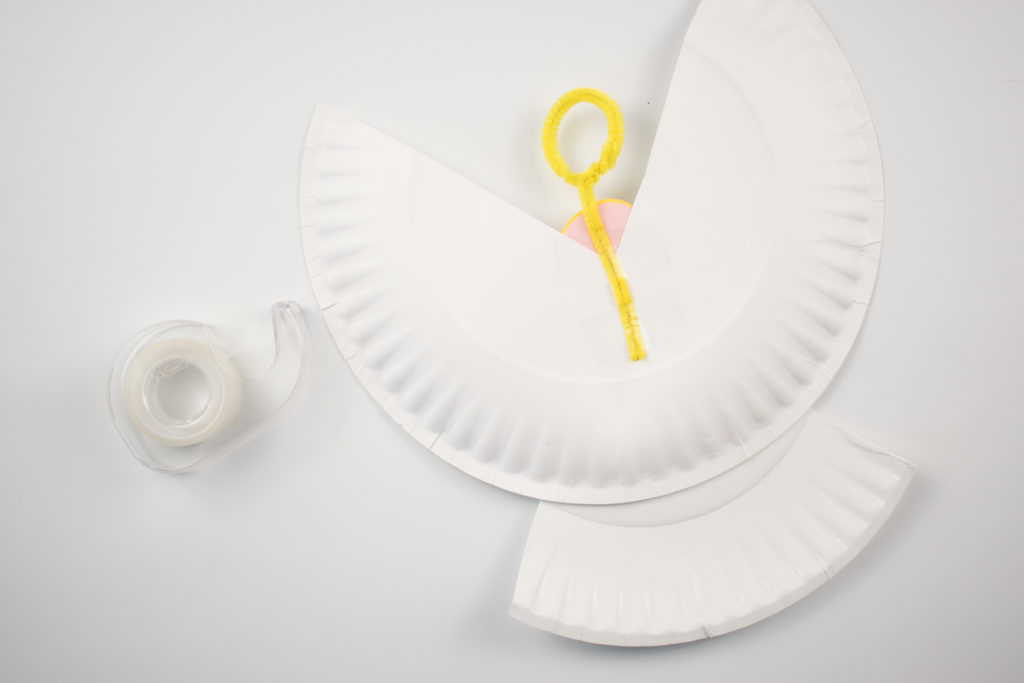
As mentioned before, gather everything you need to make it easy for your little ones to move on to the next step. The first thing to do would be to get your paper plate and cut a triangle out of the plate with the point just past the centre of the plate.
Stack the two colours of paper and cut an oval shape. This is what will become your Christmas Angel head.
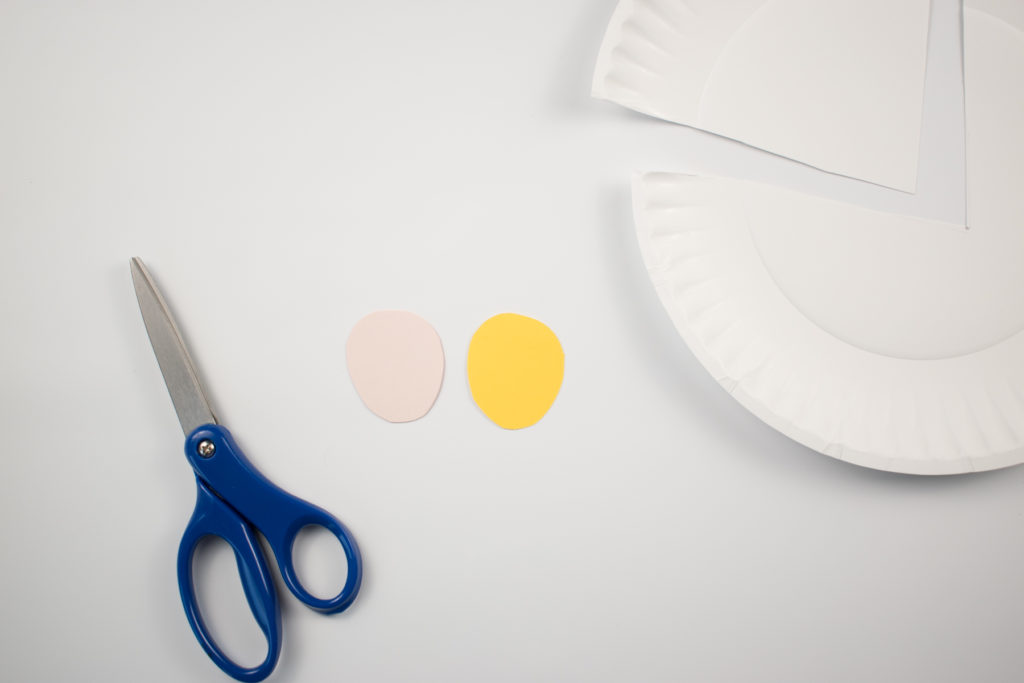
With one of the pieces of your chosen coloured card, cut out the hair from one of the ovals as shown. Glue the head and hair together.
Glue the triangle piece of plate opposite from where it was cut to form the body and wings.
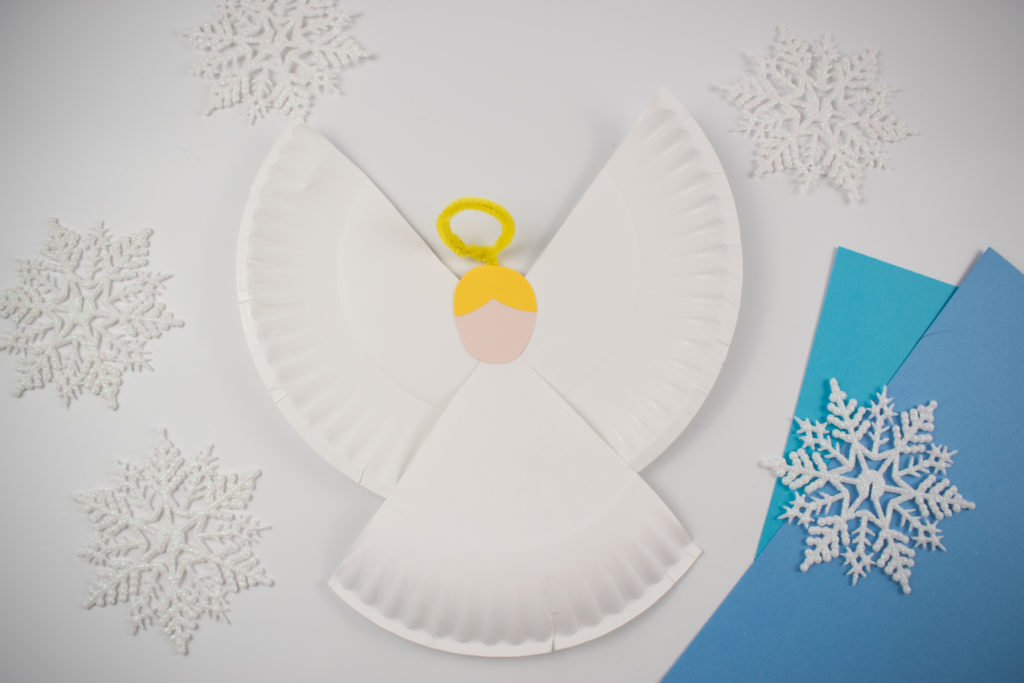
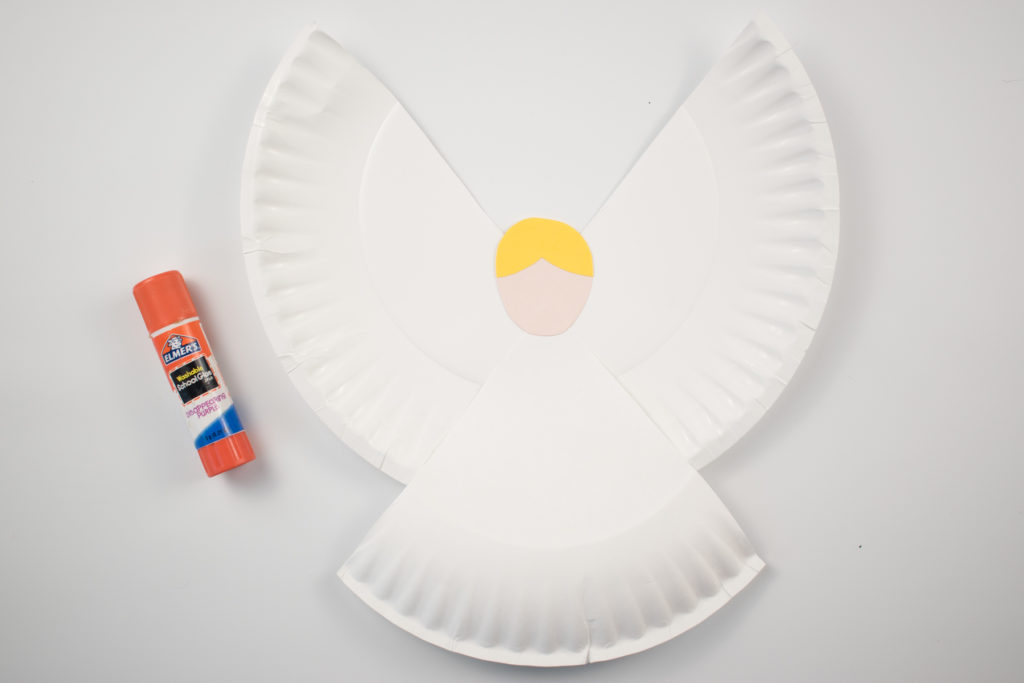
Now you will start to see your angel coming together as you glue the head at the tip of the triangle.
Next up we want to create the iconic halo. Using your pipe cleaner, cut it in half and shape one end into a halo.
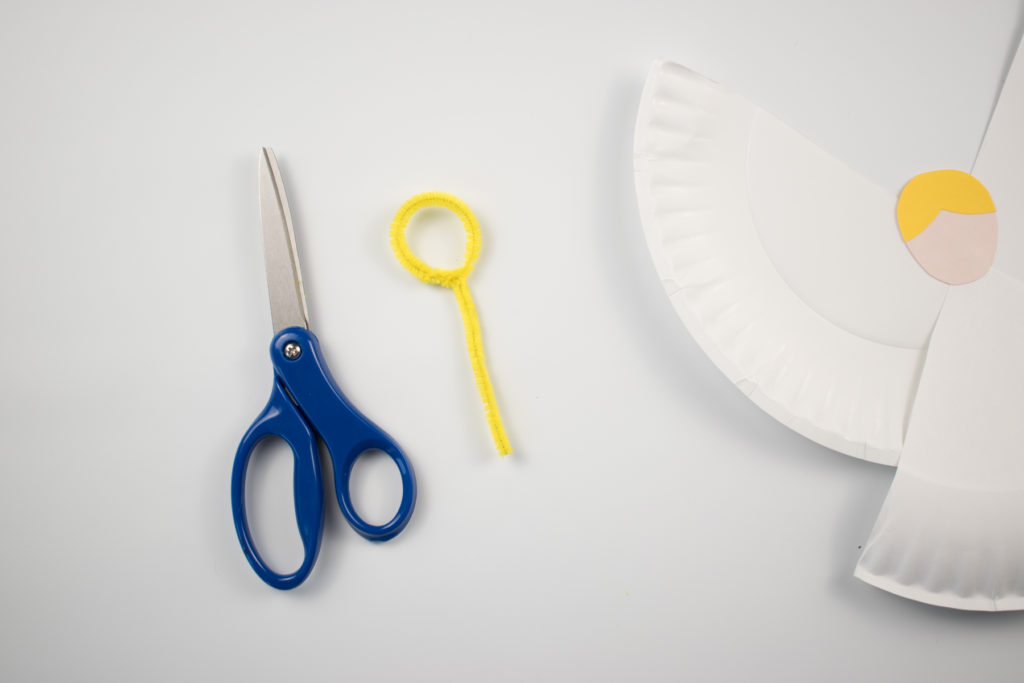
With the other piece of pipe cleaner, you will want to tape the straight end to the back of the wings.
Bend the halo forward over the head.
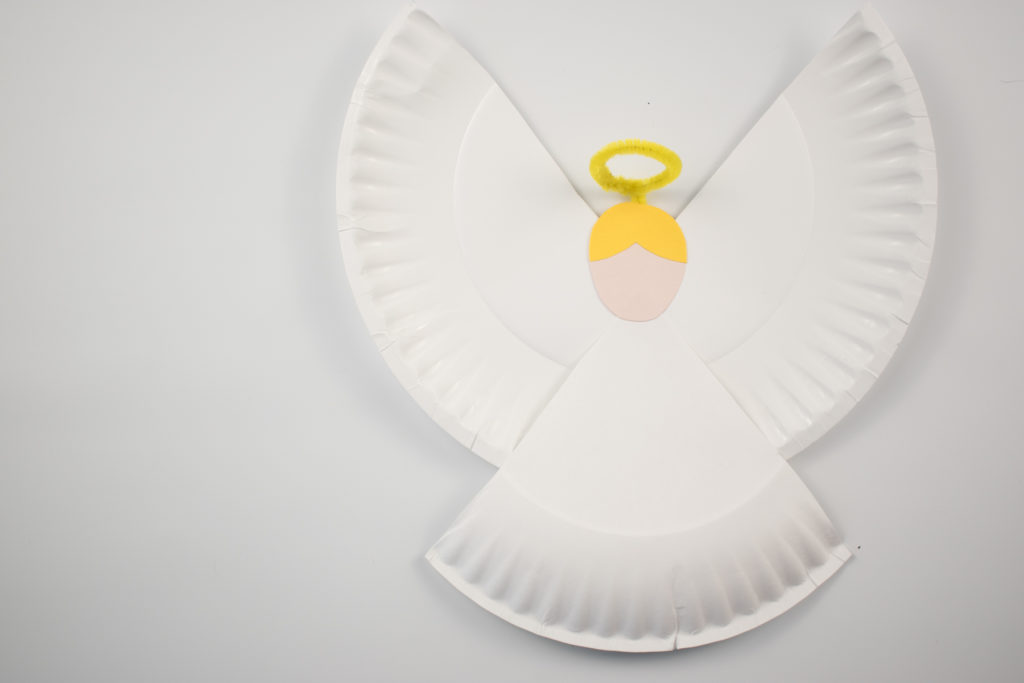
There you have it your Christmas angel craft. Now all you need to do is grab a pen and add some eyes and a smile.
Craft process notes and tips
A craft is always a perfect opportunity to spend some time with your children, or even just to occupy them so that they aren’t always going to technology to feel stimulated. However, while it may be a simple craft process to follow, it is always advisable to take on some extra notes and tips to get the most out of it.
- When using scissors and at the point when you need to cut pipe cleaners then you may want to supervise children or help younger ones so there are no accidents.
- This can get a little messy with the glue so make sure you protect the surface your little ones are using to make this craft. A tablecloth can be useful here.
- It can be tricky to understand where to cut and how to create the angel body and the angel wings. Make sure you look at the process pictures to give you a heads-up.
- Give the glue time to dry to ensure all of your elements are stuck in place.
Variations to try
Like with any craft, the beauty is how you adapt it to suit you and if you don’t have some of the things that you need suggested above, then varying it is a great way to enjoy this craft. Here are some ideas:
- Make the angel look like your little ones. This is a great way to help them to be aware of hair colour, eye colour, etc. They can adapt the angel to look like them by changing the colours of things or colouring the paper plate.
- Use glitter glue. This is a lovely way to add a bit of sparkle.
- Paint the angels. You could get creative with the paints once you have created the main angel layout.
- Make a few and then attach them together to make a garland of angels that you can place on your mantelpiece.
FAQs
We all have questions that we may need answering so here are a couple to help you.
What age range is this craft suitable for?
This is a great craft for younger and older children. Younger children will need some help in parts such as using scissors or when handling the glue but older children should find these steps very easy to follow. This is something that even adults might like to get involved with.
Is it a craft just for Christmas?
While an angel may be associated with Christmas, you could use the method as a way to create people when crafting. Your little ones can paint them, add different facial features and hair colours, and make this craft all year round.
I don’t have any pipe cleaners, what can I use instead?
Pipe cleaners are bendy and easy to use in crafts, but not all of us have a stock of them in our cupboards. You could create a halo with pieces of coloured paper. Cut out two strips of paper and bend one into a circle and glue them together.
With the other straight piece, you can stick it to the wings and then attach it to the glued circle to create a halo. Make sure you give the glue time to dry.
Hopefully, this will have encouraged you to give the Angel Craft a try.
Looking for more Paper Plate Crafts, check out Paper Plate Christmas Trees and Paper Plate Reindeers
